Vampire Fudge is my go-to Halloween treat when the calendar fills up and the kitchen runs on adrenaline. I’m a professional chef who thrives on turning simple ingredients into show-stopping moments for busy families and professionals. This ultra-creamy white fudge with a gory red center is more than a spectacle—it’s practical too: no-bake, quick to assemble, and easily scaled for classroom parties, office potlucks, or family movie nights. In this article, I share how to recreate Vampire Fudge with the perfect balance of sweetness and drama, plus tips for making it ahead, customizing the red center for extra punch, and stylish serving ideas. Read on for steps, variations, and serving inspiration that fit a busy life.
Table of Contents
what make this Vampire Fudge special
I know how the calendar fills up fast and meals get rushed. Vampire Fudge is my little sanity saver on those crowded days. It’s a creamy, no-bake treat that still feels like a show-stopper.
This Vampire Fudge isn’t just about drama; it’s practical for busy lives. It comes together in minutes, sets in the fridge, and travels well for potlucks or movie nights. It’s a little chocolate magic you can rely on when time is tight.
Why this treat stands out
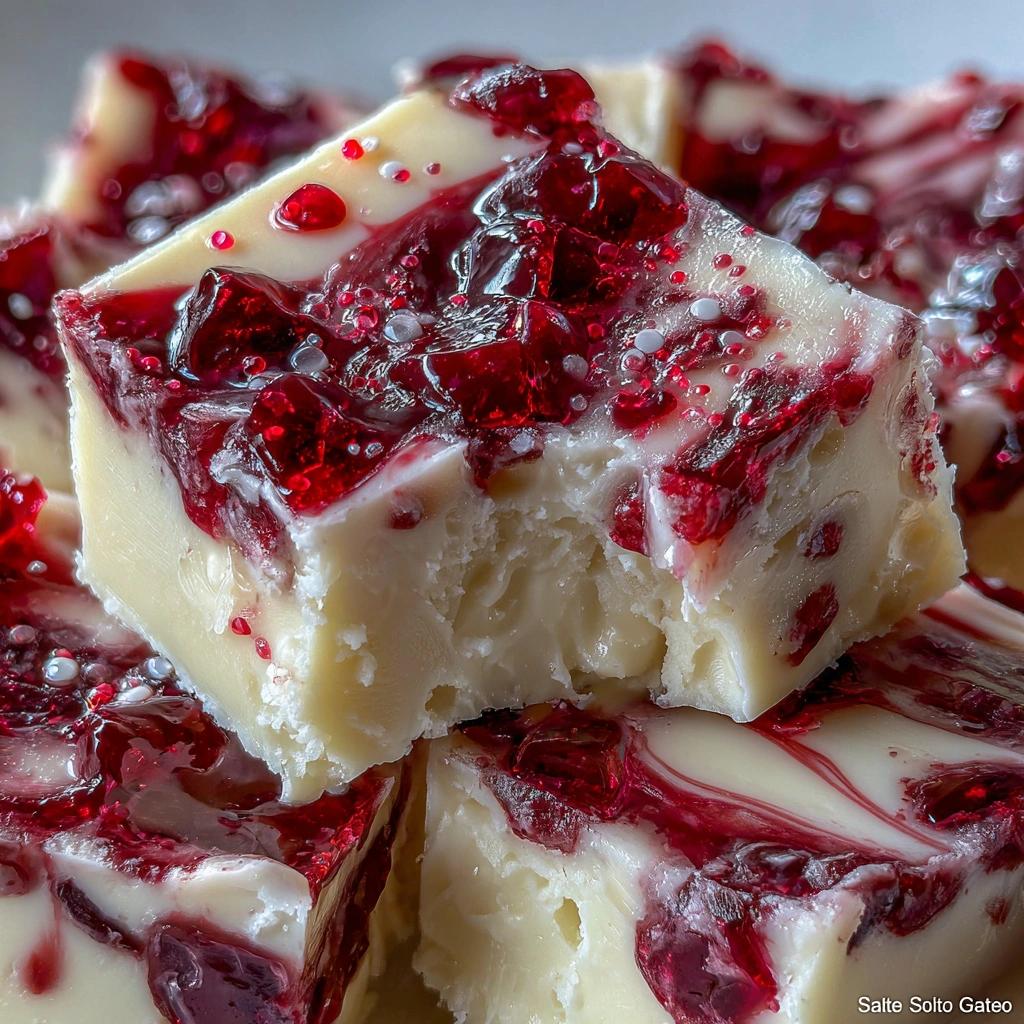
What makes this Vampire Fudge stand out is its instant wow factor without extra effort. A pale, creamy base hides a bold red center that screams Halloween in the best possible way. It looks pro, but it’s friendly enough for a busy weeknight.
The appeal of a no-bake, creamy classic
The no-bake approach keeps the kitchen cool and calm. The creamy texture comes from white chocolate melted with condensed milk, giving a velvet bite every time. It’s reliable, dependable comfort with a playful twist.
- Ultra-creamy texture from white chocolate and condensed milk
- Striking red center adds drama with minimal effort
- Mits easily make-ahead for busy schedules
- Scales from classroom parties to family movie nights
In short, Vampire Fudge is the dessert you reach for when you want big impact and zero stress. It blends comfort with a touch of spooky whimsy, making every bite feel special.
Why You’ll Love This Vampire Fudge
As a busy home cook, I rely on recipes that deliver big flavor fast. Vampire Fudge keeps stress low with a no-bake, creamy base. It’s versatile for potlucks, family nights, or a quick Halloween show-stopper.
The dramatic red center adds drama without mess. I love that I can make it ahead, slice cleanly, and serve chilled. Plus, cleanup is a breeze, which matters after long days.
That’s the kind of dessert magic busy lives crave.
A quick, crowd-pleasing dessert
Vampire Fudge comes together in minutes, with no baking required and minimal mess. It’s the kind of crowd-pleaser that busy families and professionals appreciate. The creamy texture and bold contrast make it feel festive without fuss.
Simple steps, big impact
Three simple moves give big results: melt and blend, layer, and chill. The payoff is a pro-looking fudge you can slice neat every time. It’s a small ritual that delivers a Halloween wow every time.
Ingredients Vampire Fudge
Here’s what you’ll need to make Vampire Fudge. Exact quantities are at the bottom of the article and available for printing.
Ingredient rundown
- 2 cups white chocolate chips
- 1 can (14 oz) sweetened condensed milk
- 1 tsp vanilla extract
- Red gel food coloring
- Optional: edible glitter or Halloween sprinkles for decoration
Quick notes on ingredients
- White chocolate chips provide the creamy base
- Sweetened condensed milk binds and sweetens
- Vanilla adds depth
- Red coloring creates the “bloody” center
- Optional decorations elevate spooky presentation
How to Make Vampire Fudge
Step-by-step guide
Step 1: Prep the pan
- I line an 8×8-inch baking dish with parchment paper for easy removal and clean slicing.
Step 2: Melt and blend
- I melt white chocolate chips with sweetened condensed milk over low heat, stirring until smooth.
- I remove from heat and stir in vanilla extract.
Step 3: Layer the white fudge
- I pour half the white mixture into the prepared dish and smooth the top.
Step 4: Create the blood center
- I blend fudge with red gel coloring for spooky food drama.
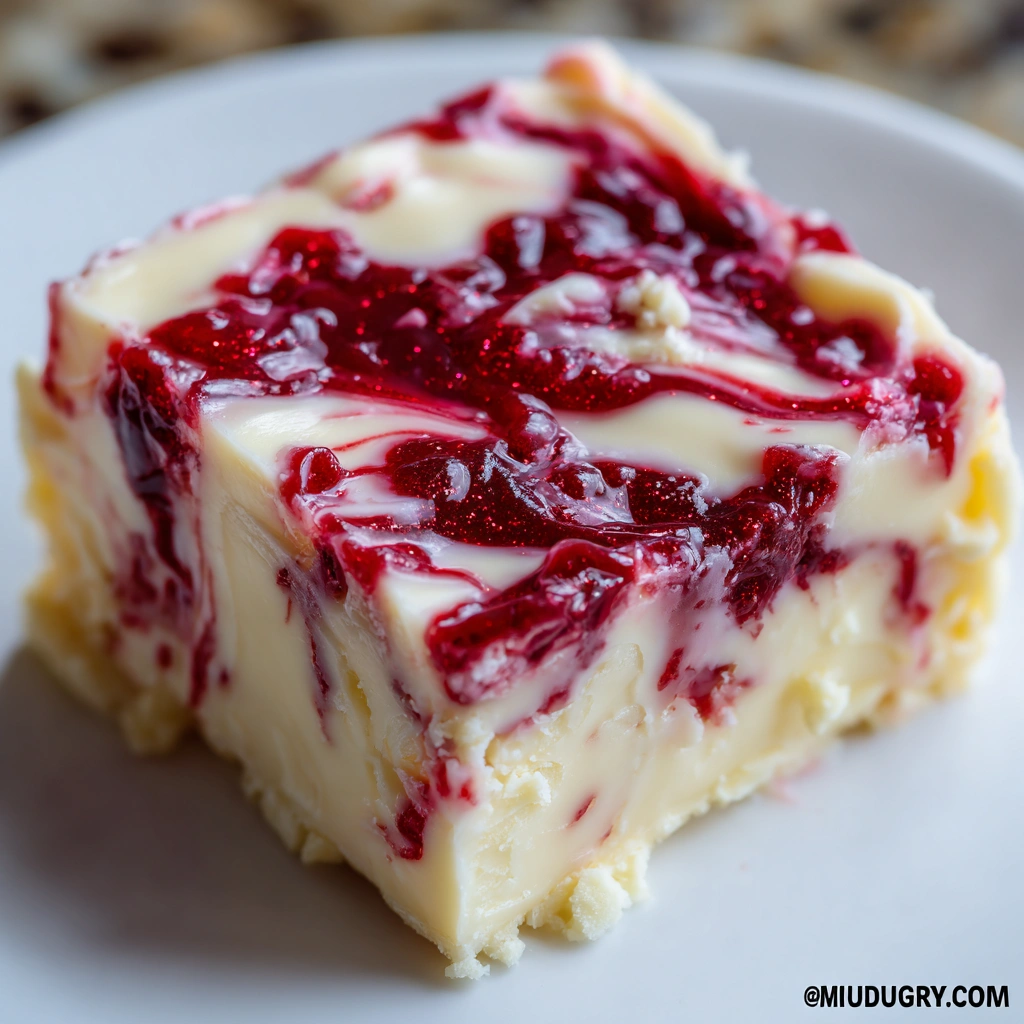
- I spoon red fudge over the white layer, spreading gently to create a visible center or marbled effect.
Step 5: Top and texture
- I top with the remaining plain white fudge and smooth the surface.
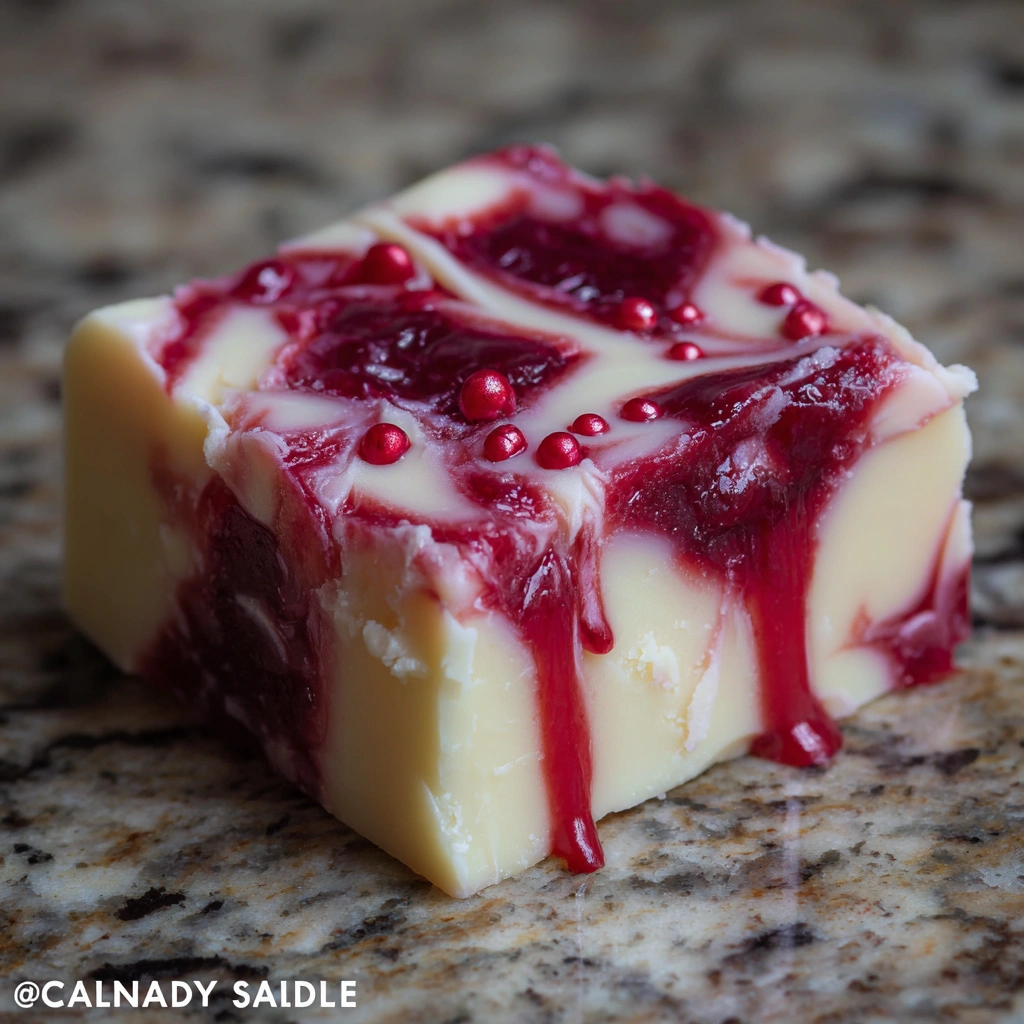
- For a subtle bloody swirl, I swirl with a skewer; keep the center red if you prefer a surprise.
Step 6: Chill and slice
- I chill in the fridge for at least 3 hours or until firm.
- I cut into 16 squares and serve cold.
Tips for Success
- Keep the heat low while melting Vampire Fudge to prevent scorching the white chocolate and preserve silkiness.
- If the red center isn’t vivid, rework a small amount with more coloring to pop.
- For cleaner cuts, chill Vampire Fudge overnight for firmer squares.
Equipment Needed
Having the right tools keeps Vampire Fudge quick to assemble and tidy to slice. Here are the essentials, with easy substitutes if you don’t have a specialty pan on hand.
Must-have tools
- 8×8-inch baking dish
- Parchment paper or nonstick liner
- Small bowl for coloring
- Skewer or toothpick for marbling
Variations
- Use white almond bark if you don’t have white chocolate chips.
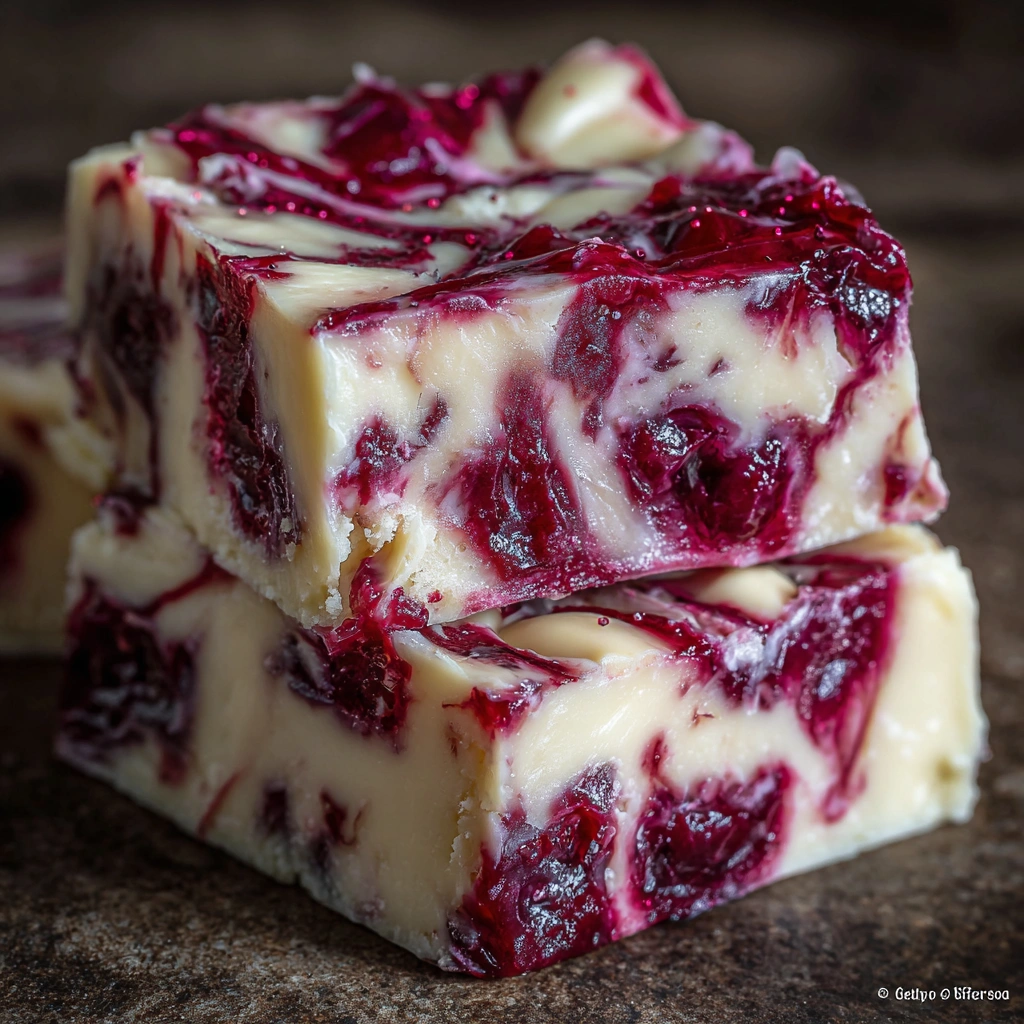
- Create a darker center with a small amount of strawberry or raspberry puree swirled into the red layer.
- Make an extra-crispy edge by chilling in a thinner layer before the final top layer.
- Dip finished squares in white chocolate drizzle for a glossy finish.
Serving Suggestions
- Pair Vampire Fudge with sparkling apple cider or a spooky iced coffee for contrast.
- Arrange on a platter with dry ice for a foggy effect (follow safety guidelines).
- Decorate with edible glitter or Halloween sprinkles to amp up the mood.
- Serve with a cinnamon-spiced hot chocolate for a cozy contrast.
Spooky Pairings and Party Ideas
- I love building a mini dessert board featuring Vampire Fudge as the star, paired with other spooky delights like ghostly truffles, chocolate-dipped apples, and caramel popcorn. It’s visually stunning and easy to assemble in minutes.
- I wrap themed gift boxes for teachers, neighbors, or coworkers. Include a small bar of Vampire Fudge, a kind note, and a ribbon for a personal, portable treat.
- I pair the fudge with themed beverages and a blood-red punch, using pomegranate juice, sparkling water, and citrus. It ties the whole table together without extra work.
FAQs
Can I use milk chocolate instead of white chocolate for this fudge?
I love using white chocolate in Vampire Fudge for its creamy, pale base.
Milk chocolate would change the color and flavor dramatically.
If you must use it, reduce the condensed milk slightly and adjust sweetness to taste.
This approach makes Vampire Fudge a perfect spooky food for Halloween gatherings.
How should I store Vampire Fudge?
Store Vampire Fudge in an airtight container in the refrigerator for up to 2 weeks.
This spooky food stays fresh and ready for crowds.
Can I freeze Vampire Fudge?
Yes, wrap Vampire Fudge squares tightly and freeze for up to 1 month.
It’s spooky food that travels well; thaw in the fridge overnight and bring to room temperature for best texture.
How can I intensify the red center?
Increase the red portion before layering to intensify the Vampire Fudge center.
Or lightly swirl red fudge into the white layer to create a bolder Vampire Fudge center.
Final Thoughts
I’ve learned that the thrill of Vampire Fudge isn’t just in the dramatic contrast of pale fudge and crimson center. It’s in the way Vampire Fudge brings people together—kids watching the marbled swirl, coworkers marveling at the no-bake magic, busy moms having a moment of pride knowing it travels well and slices neatly. The fudge stays creamy, the red center surprises, and cleanup is a breeze, which is a rare gift after a long day. When I set squares on a platter, I see quick happiness emerge—spooky food that feels special without fuss, a festive finish that warms hearts.
Print
Vampire Fudge is 3x Creamy, Spooky, Irresistible.
- Total Time: 3 hours 10 minutes
- Yield: 16 squares 1x
- Diet: Vegetarian
Description
Vampire Fudge is a frightfully fun Halloween dessert made with white chocolate, sweetened condensed milk, and a spooky red center. Sweet and creamy on the outside with a bloody surprise inside, it’s the perfect make-ahead treat for parties and haunted gatherings.
Ingredients
- 2 cups white chocolate chips
- 1 can (14 oz) sweetened condensed milk
- 1 tsp vanilla extract
- Red gel food coloring
- Optional: edible glitter or Halloween sprinkles for decoration
Instructions
- Line a small square (8×8-inch) baking dish with parchment paper.
- In a saucepan over low heat, melt white chocolate chips with the sweetened condensed milk, stirring until smooth.
- Remove from heat and stir in vanilla extract.
- Pour half the mixture into the prepared dish and smooth the top.
- In a small bowl, mix a portion of the remaining fudge mixture with red gel food coloring to create the “bloody” layer.
- Spoon red fudge over the white layer, spreading gently. Top with the remaining plain white fudge and smooth the surface.
- Use a skewer to gently swirl for a bloody marbled effect if desired, or leave the center red hidden for a surprise.
- Chill in the fridge for at least 3 hours or until firm. Cut into squares and serve cold.
Notes
- Chill time can be extended up to overnight for firmer fudge.
- For a more pronounced red center, increase the amount of red-colored portion before layering.
- Store leftovers in an airtight container in the refrigerator for up to 2 weeks.
- Prep Time: 10 minutes
- Cook Time: 5-7 minutes
- Category: Dessert
- Method: No-bake; Chill-set
- Cuisine: American
Nutrition
- Serving Size: 1 square
- Calories: Approx. 140 kcal per serving
- Sugar: Approx. 12 g
- Sodium: Approx. 40 mg
- Fat: Approx. 8 g
- Saturated Fat: Approx. 5 g
- Unsaturated Fat: Approx. 3 g
- Trans Fat: 0 g
- Carbohydrates: Approx. 15 g
- Fiber: 0 g
- Protein: Approx. 2 g
- Cholesterol: Approx. 15 mg
Keywords: Vampire Fudge, spooky food, Halloween treats, white chocolate fudge, bloody center