Grandma’s Thanksgiving Stuffing is a story of comfort meeting efficiency. I’m a professional chef behind Cook by Cook. I bring you a trusted, 5-step version of a timeless side. It fits a busy life. In this article, you’ll discover what makes this stuffing special. You’ll love the practical steps to make it with minimal stress. You’ll find a classic bread base, herb-forward flavor, and a make-ahead option. Plus variations for dietary needs and tasty serving ideas. Expect clear, step-by-step instructions, smart tips for a crisp top, and pairing ideas. This guide saves time while delivering grandma-level flavor and warm holiday memories. Open the recipe, bookmark tips, and enjoy a relaxed holiday prep.
Table of Contents
what make this Grandma’s Thanksgiving Stuffing special
Grandma’s Thanksgiving Stuffing feels like a warm hug in a pan. I reach for it when my schedule is crowded. It tastes like home and travels well through busy days. I love that it’s simple, reliable, and comforting.
A comforting, practical classic
It’s a time-tested comfort dish that fits modern schedules. It’s a favorite among thanksgiving recipes. Crusty bread, gentle herbs, and a glossy pan evoke holiday warmth.
The 5-step approach for busy days
It keeps supper planning calm and predictable. Five simple steps save time on crazy days. I can prep components ahead, then finish in minutes.
Why it fits a hectic schedule
Batching, simple steps, and everyday ingredients keep you moving. It fits a hectic schedule, too. I love how it scales from weeknights to feasts.
Why You’ll Love This Grandma’s Thanksgiving Stuffing
Grandma’s Thanksgiving Stuffing feels like a warm hug even on the busiest days. I designed this 5-step version to be fast without sacrificing flavor. Make-ahead options mean less panic on Thanksgiving morning and more time for connection.
Crusty bread, fragrant herbs, and a buttery finish come together with ease. This is the stuffing I return to when the schedule is wild but the celebration matters. It’s comforting, dependable, and surprisingly simple to fit into a busy kitchen.
Convenience without compromise
Convenience doesn’t mean sacrificing flavor in Grandma’s Thanksgiving Stuffing. I keep the butter, herbs, and toasted bread that make it feel classic. The steps are simple, and you can prep parts ahead to save time.
Crowd-pleasing flavor
The comforting savor comes from butter, sage, and roasted bread. That familiar aroma gates the kitchen and invites guests to linger. It’s the kind of dish that wins over new eaters and seasoned cooks alike.
Ingredients Grandma’s Thanksgiving Stuffing
Ingredient overview
Here’s a quick look at each ingredient and its role in my Grandma’s stuffing.
- 10 cups day-old crusty bread, cubed (sourdough or French bread) — acts as the stuffing base and soaks up savory juices.
- 1 yellow onion, finely chopped — adds sweetness and depth to the mix.
- 3 stalks celery, finely chopped — provides crunch and a herbaceous note.
- 3 cloves garlic, minced — delivers a warm, aromatic zing.
- ½ cup unsalted butter — creates richness and helps smooth the sautéed vegetables.
- 2½ cups vegetable broth (or more as needed) — moisturizes the bread to the perfect bite.
- 2 tsp dried sage — classic, earthy stuffing flavor.
- 1 tsp dried thyme — subtle woodsy brightness.
- 1 tsp dried rosemary — a hint of pine and savory depth.
- Salt and pepper to taste — balance all the flavors.
- 2 eggs, beaten — binds the mixture for a cohesive bake.
- Optional: chopped parsley for garnish — fresh color and a light finish.
Note: Exact quantities and printable version are at the bottom of the article.
How to Make Grandma’s Thanksgiving Stuffing
Grandma’s Thanksgiving Stuffing is my go-to side when time is tight. I love how this 5-step method keeps rich flavor intact while chasing away kitchen chaos. I’ll walk you through practical steps, with tips that fit a busy schedule and a big appetite for comfort.
Step 1: Preheat oven and toast bread
Preheat to 350°F (175°C). Lightly grease a 9×13-inch baking dish. Spread day-old crusty bread cubes on a baking sheet. Toast for 10–15 minutes until they’re lightly crisp. Remove and let cool a bit before mixing.
Step 2: Sauté onion, celery, and garlic
In a large skillet, melt butter over medium heat. Add the onion, celery, and garlic. Sauté about 8 minutes until the vegetables are soft and fragrant. Stir occasionally so nothing sticks or scorches.
Step 3: Add herbs and seasonings
Stir in dried sage, thyme, and rosemary. Season with salt and pepper to taste. Remove the skillet from heat to keep the herbs bright.
Step 4: Combine bread with sautéed vegetables
In a large bowl, mix the toasted bread cubes with the sautéed vegetables. Toss to distribute evenly. Drizzle in vegetable broth gradually, stirring until the bread is moistened but not soggy.
Step 5: Bind with eggs and finish
Beat the eggs, then fold them into the bread mixture. This helps Grandma’s Thanksgiving Stuffing hold together in the bake. Transfer the mixture to the prepared baking dish, spreading evenly.
Step 6: Bake, uncover, and crisp top
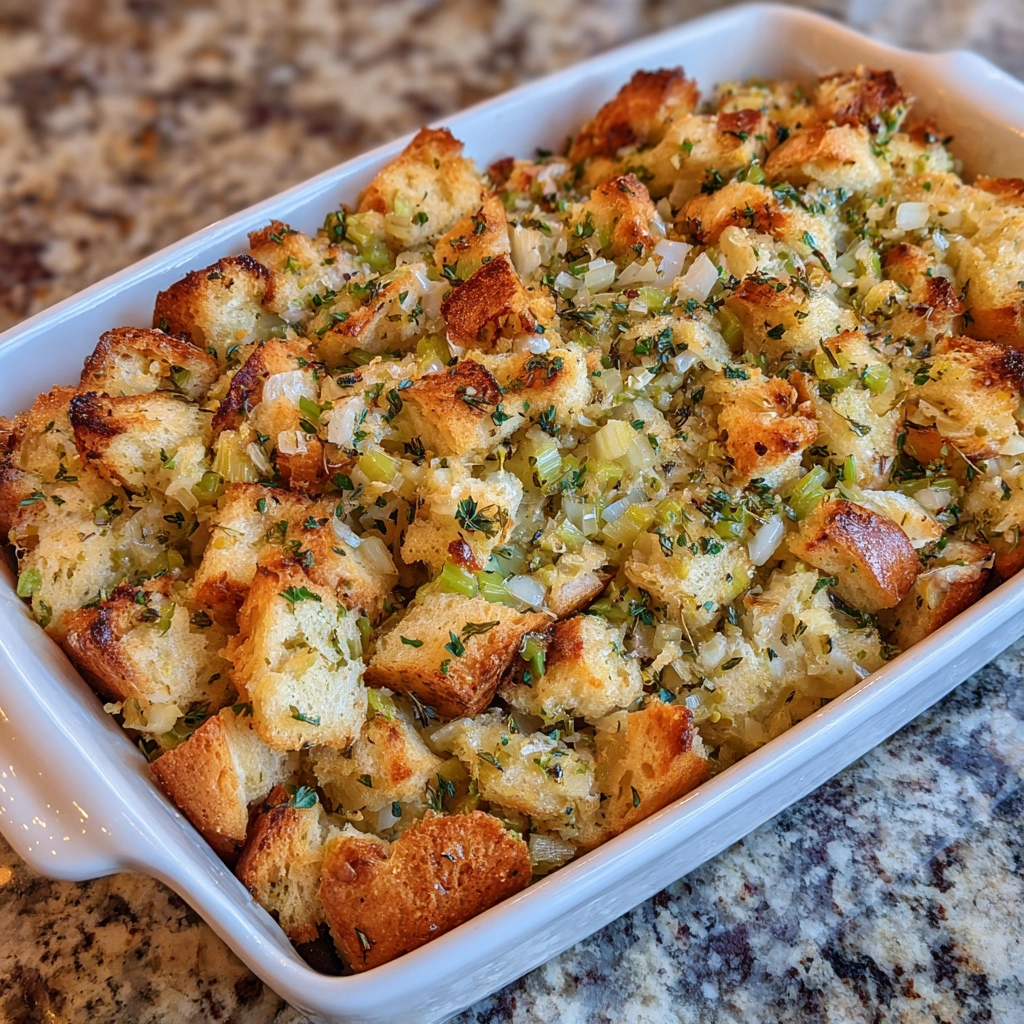
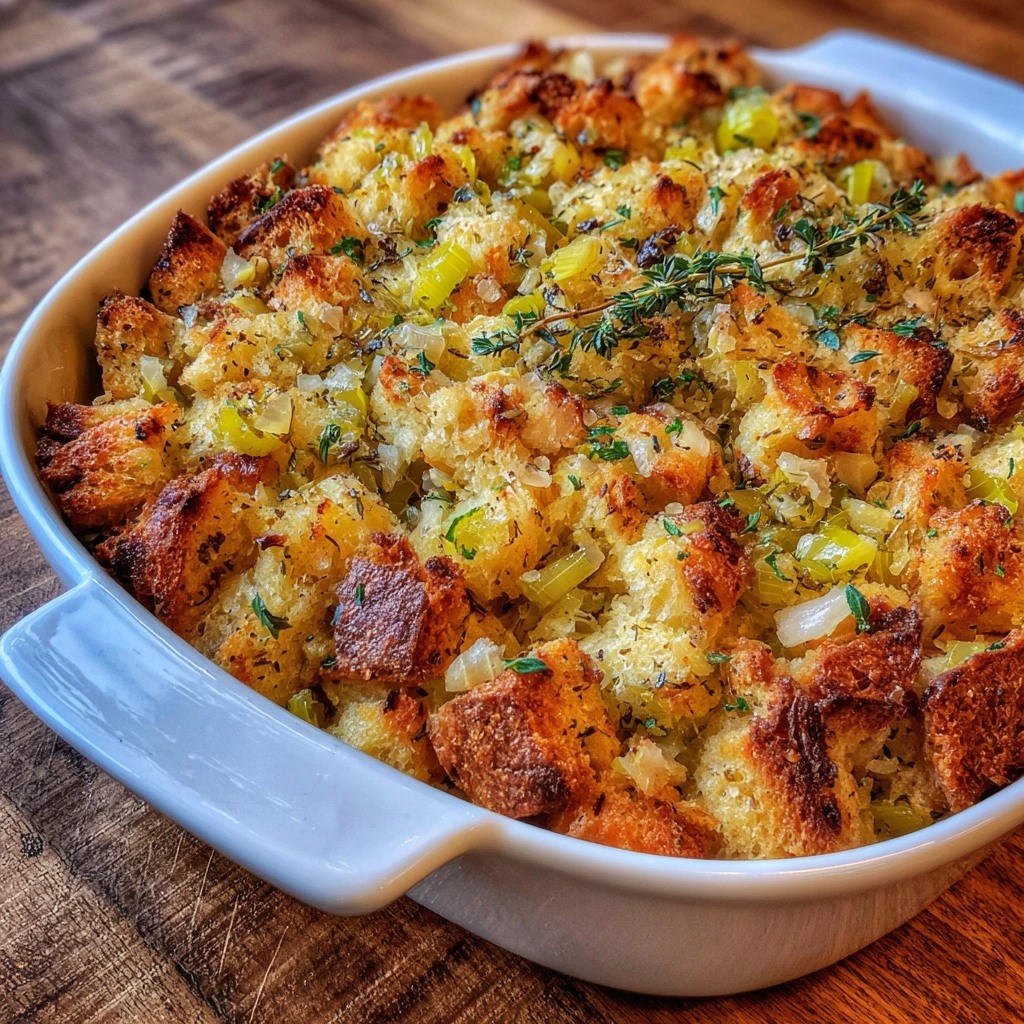
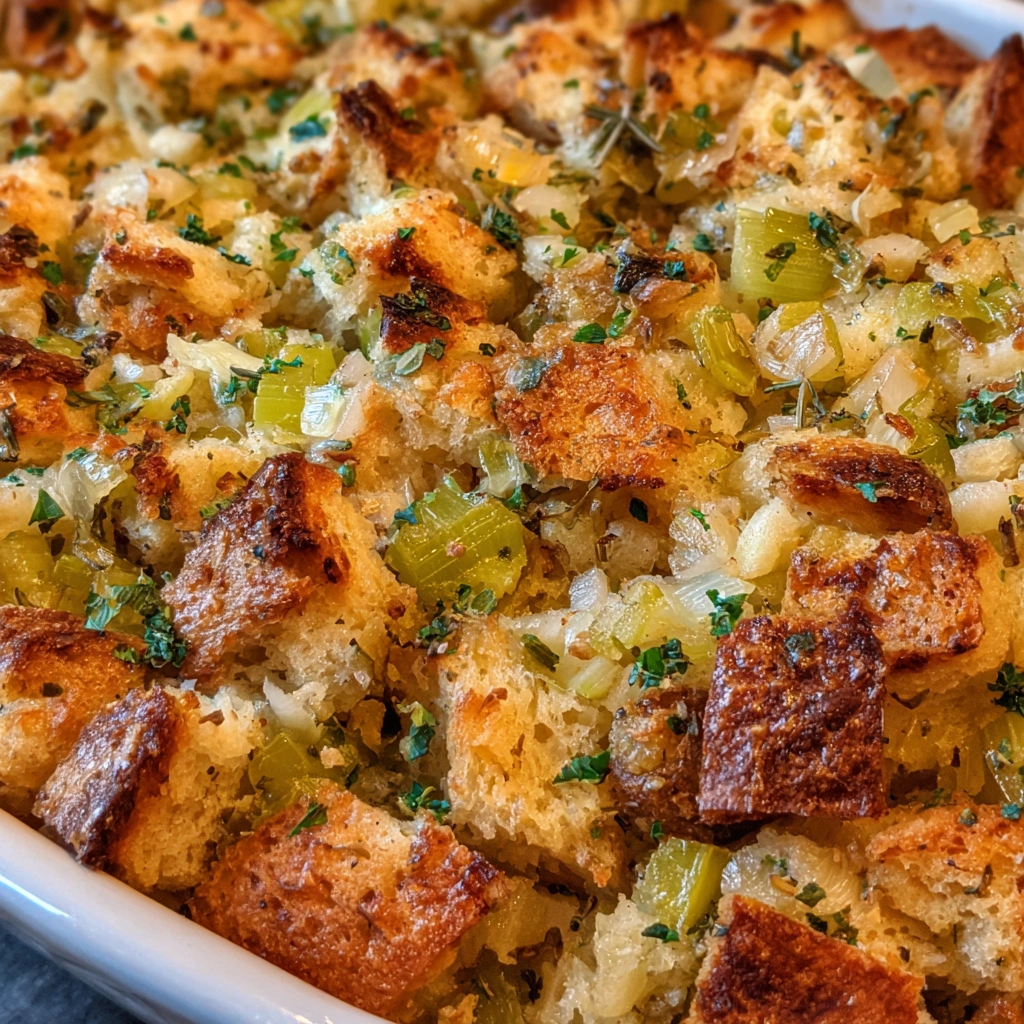
Cover the dish with foil and bake 30 minutes. Uncover and bake 15–20 minutes more, until the top is golden and crisp. If you like a brighter green finish, garnish with chopped parsley just before serving.
Make-ahead option
You can assemble Grandma’s Thanksgiving Stuffing through the eggs. Refrigerate overnight, then bake as directed. Hold the eggs until you’re ready to bake to keep the texture light. This makes Thanksgiving morning calmer and keeps flavors intact.
This makes Thanksgiving morning calmer and keeps flavors intact.
Label the container and note bake time for easy planning.
Pairings for Grandma’s Thanksgiving Stuffing
Pairing with Grandma’s Thanksgiving Stuffing helps balance the plate. I lean on bright sides that echo its comforting butter and herbs.
Classic sides to serve alongside
- Cranberry sauce for bright contrast
- Green beans almondine for crunch and color
- Roasted vegetables (carrots and Brussels sprouts) for warmth
- Mashed potatoes for creamy comfort
Drinks that pair well
- Pinot Noir or Chardonnay to match the stuffing’s richness
- Sparkling apple cider for a festive, non-alcoholic option
Tips for Success
Quick kitchen tips
- Use day-old bread for Grandma’s Thanksgiving Stuffing and best texture; toast it lightly for extra crunch.
- Keep broth warm when adding to bread to control moisture.
- Let the stuffing rest 5–10 minutes before serving; it firms up for easier slicing.
- Prep ingredients in advance: chop onions and celery, measure spices, and toast bread a day ahead.
- Taste as you go; adjust salt and pepper at the end for perfect balance.
Equipment Needed
Essential tools
- Large skillet (prefer heavy bottom; it keeps heat steady while browning onions and butter)
- Large mixing bowl (a big, sturdy bowl makes folding and tossing easy)
- 9×13-inch baking dish (even heat distribution and neat, family-size portions)
- Optional: loaf pan for compact stuffing (great for a neater, taller bake; easy cleanup too)
Variations Grandma’s Thanksgiving Stuffing
Veggie-packed version
To deepen the flavor, I fold in mushrooms and roasted vegetables. Sauté the mushrooms with a pinch of salt until they release their juices. They add umami and color, plus extra depth, without adding meat.
Gluten-free option
Make it gluten-free by using gluten-free bread and broth. The rest stays the same, so you keep that cozy texture. If needed, you can add a splash more broth to moisten.
Dairy-light version
Reduce butter by half or swap to an olive oil blend. Use vegetable stock for richness and moisture. The result stays creamy without the heavy butter feel.
Serving Grandma’s Thanksgiving Stuffing
Serving Grandma’s Thanksgiving Stuffing is the moment the kitchen sighs with relief. I love how it pairs with turkey and shines brightly.
Presentation ideas
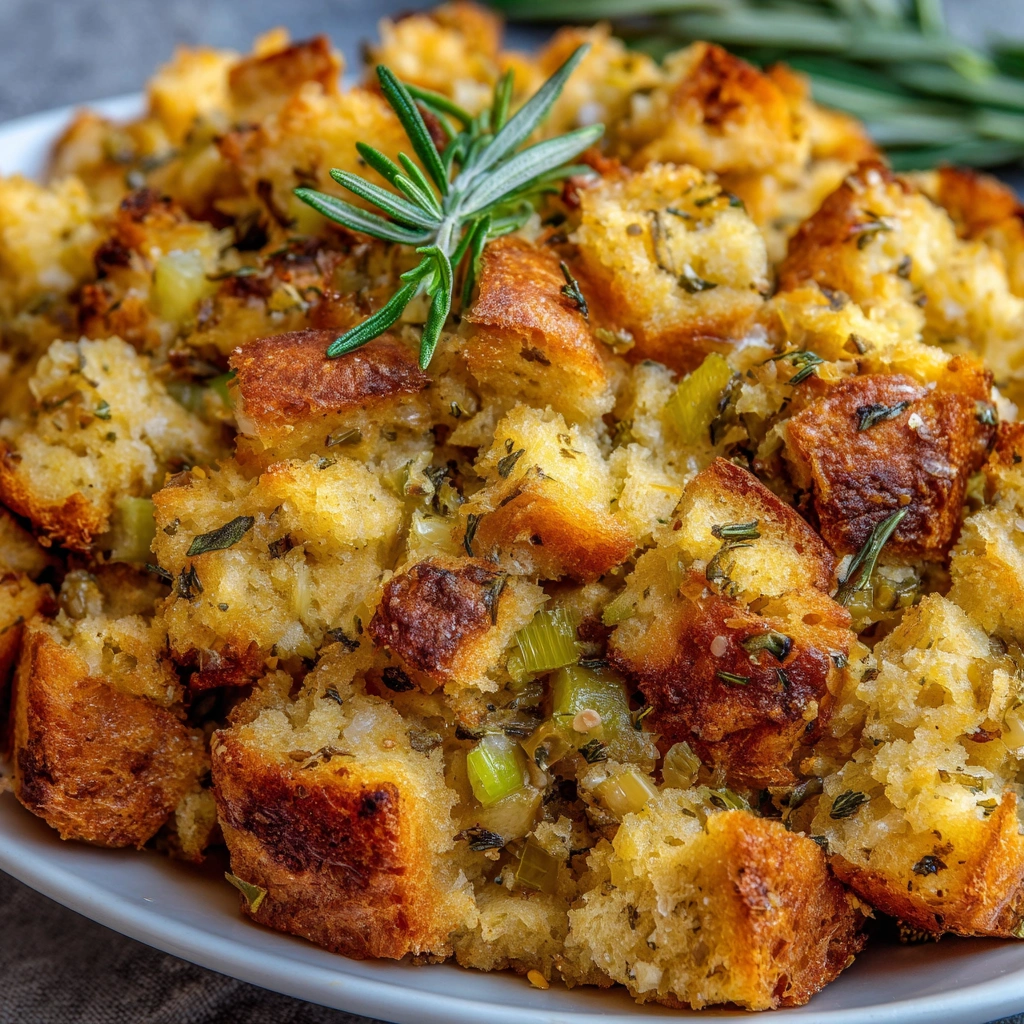
- Garnish with chopped parsley for color.
- Keep it in the baking dish for family-style service.
Temperature and plating
Warm is best. Slice for neat portions or scoop for a cozy, shareable finish.
Make-Ahead Tips for Grandma’s Thanksgiving Stuffing
Make-ahead assembly
I assemble Grandma’s Thanksgiving Stuffing through step five the day before. Then I refrigerate, holding eggs until bake time.
This trick streamlines morning prep and keeps flavors bright.
Label the container and note bake time for easy planning.
Reheating and finishing
Reheating: bake until heated through, about 20 minutes.
If you’d like a crisp top, broil 1–2 minutes.
Rest 5–10 minutes before serving to set the texture.
FAQs
What is the secret to good stuffing?
The secret in Grandma’s Thanksgiving Stuffing is balance. I aim for moisture, texture, and seasoning to harmonize. The bread should soak up enough broth without turning soggy. Herbs—sage, thyme, and a hint of rosemary—bring warmth. Eggs help it bind while staying tender. Let it rest a few minutes before serving to set perfectly.
How do you make easy turkey stuffing?
Keep it simple with a bread-based base and pre-chopped veggies. Toast the bread for crunch, then sauté onion, celery, and garlic in butter. Stir in herbs, mix with bread, and add warm broth gradually. Beat eggs and fold them in. Bake until the top is golden. This method fits busy days and still tastes like Grandma’s kitchen.
What do British people call stuffing?
In the UK it’s usually just stuffing or sage and onion stuffing. The idea stays the same—herbed, savory, and cozy. It often appears tucked under poultry skin or baked as a side, sharing the comforting mood of American Thanksgiving stuffing.
Is it better to make stuffing the night before Thanksgiving?
Yes, it helps planning. You can assemble up to the eggs and refrigerate overnight. If you bake the complete dish, keep the eggs separate until bake time to preserve texture. Either way, this trick buys you precious time on Thanksgiving morning.
Final Thoughts
Grandma’s Thanksgiving Stuffing reminds me that comfort can be simple. Its warmth travels from the pan to the table, carrying memories. I love how a 5-step method saves hours without sacrificing flavor.
On busy mornings, I prep components ahead and breathe easier. There’s nothing fussy about it, just honest, savory goodness. If you try it, tell me how it fits your holiday rhythm.
I’ve found that resting the stuffing minutes after baking makes slices cleaner. The aroma alone signals gratitude from my family before the feast begins. This recipe travels well in a busy mom’s schedule, even when guests wander.
Print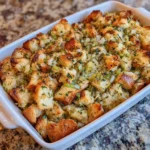
Grandma’s Thanksgiving Stuffing is 5step ultra easy tasty.
- Total Time: 1 hour
- Yield: 8 servings 1x
- Diet: Vegetarian
Description
Grandma’s Thanksgiving Stuffing is a timeless, comforting side dish made with crusty bread, savory herbs, and rich broth—this classic stuffing brings old-fashioned holiday flavor straight to your table.
Ingredients
- 10 cups day-old crusty bread, cubed (like sourdough or French bread)
- 1 yellow onion, finely chopped
- 3 stalks celery, finely chopped
- 3 cloves garlic, minced
- ½ cup unsalted butter
- 2½ cups vegetable broth (or more as needed)
- 2 tsp dried sage
- 1 tsp dried thyme
- 1 tsp dried rosemary
- Salt and pepper to taste
- 2 eggs, beaten
- Optional: chopped parsley for garnish
Instructions
- Preheat oven to 350°F (175°C). Lightly grease a 9×13-inch baking dish.
- Spread bread cubes on a baking sheet and toast in the oven for 10–15 minutes until slightly crisp. Remove and set aside.
- In a large skillet, melt butter over medium heat. Add onion, celery, and garlic, sautéing for about 8 minutes until soft.
- Stir in sage, thyme, rosemary, salt, and pepper. Remove from heat.
- In a large bowl, combine toasted bread cubes with the sautéed vegetable mixture.
- Pour in broth gradually, stirring until bread is evenly moistened (use more broth if needed).
- Mix in the beaten eggs until fully combined.
- Transfer mixture to the prepared baking dish and cover with foil.
- Bake for 30 minutes covered, then uncover and bake an additional 15–20 minutes until golden and crisp on top.
- Garnish with fresh parsley before serving, if desired.
Notes
- You can substitute chicken broth for vegetable broth if you prefer a richer flavor (note this makes it non-vegetarian).
- To make ahead: assemble through adding eggs, refrigerate overnight, then bake covered until heated through.
- If you like a crisper top, broil for 1–2 minutes at the end, watching closely.
- Prep Time: 20 minutes
- Cook Time: 40 minutes
- Category: Side Dish
- Method: Bake
- Cuisine: American
Nutrition
- Serving Size: 1 serving
- Calories: 210
- Sugar: 2 g
- Sodium: 300 mg
- Fat: 11 g
- Saturated Fat: 6 g
- Unsaturated Fat: 5 g
- Trans Fat: 0 g
- Carbohydrates: 28 g
- Fiber: 2 g
- Protein: 6 g
- Cholesterol: 70 mg
Keywords: Grandma’s Thanksgiving Stuffing, Thanksgiving recipes, stuffing, holiday side dish